Table of contents
How can you install Docker for Windows/Mac? Docker is easy to setup and install on your local machine and should take less than 5 minutes to have it up and running. After installing Docker we get access to two tools the Docker CLI(Command Line Interface) and Docker Server(Daemon)
A docker server is a special kind of computer that allows you to run many different virtual computers. Docker server will be responsible to run containers, images and a firewall.
A docker Client is a program that runs on your computer to manage the Docker server and issue commands. The Docker Client communicates with the Docker Engine to create, run, stop, or otherwise manage all of your Docker containers.
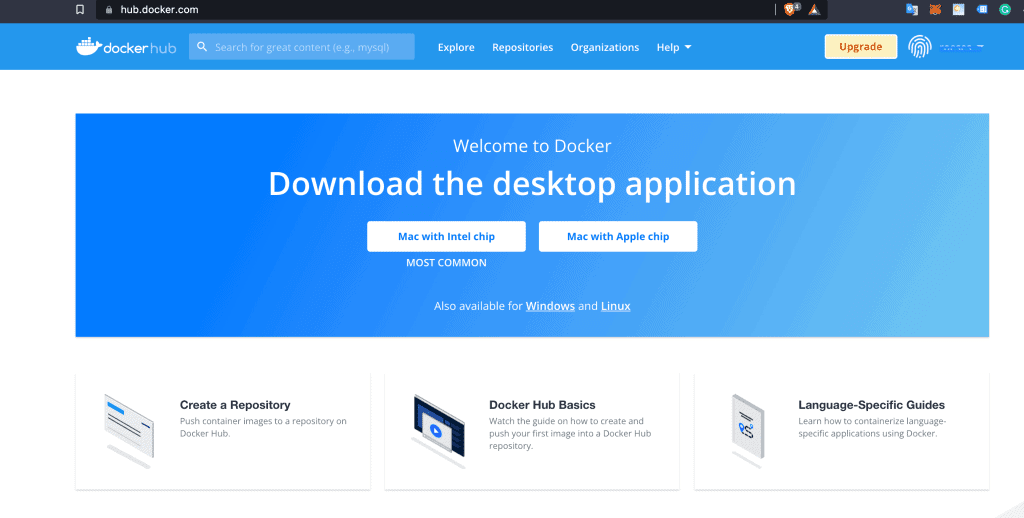
Head over to the official Docker website here and sign up for an account with your email address. Log in with your newly created credentials and head over to the downloads page.

Choose the Personal Plan – for $0, since we just need to check how docker works.
After sign-up, you with your email address, head over to your email inbox and verify your account by clicking on the email that docker has sent in.

Based on your OS, chose to download either the Mac version or the Windows/Linux packages as can be seen on the screenshot.
After downloading the specific package move on to the below steps.
1.) Installing Docker for Mac
Double-click on the DMG file and drag the docker icon into your applications folder.
Click once more on the ‘docker’ icon and agree to install it for your system by clicking ‘Install’ .
You can now launch/quit docker via clicking on it in Applications > Utilities > Docker Quick Start Terminal.
2.) Installing Docker for Windows
Double-click on the .msi file and drag the docker icon into your applications folder.
Click once more on the ‘docker’ icon and agree to install it for your system by clicking ‘Install’.
You can now launch/quit docker via clicking on it in Start > All Programs > Docker Quick Start Terminal.
3.) Installing Docker for Linux
To install docker for ubuntu – check this link for specific instructions
Verifying Installation
Verification Step 1
Verification Step 2

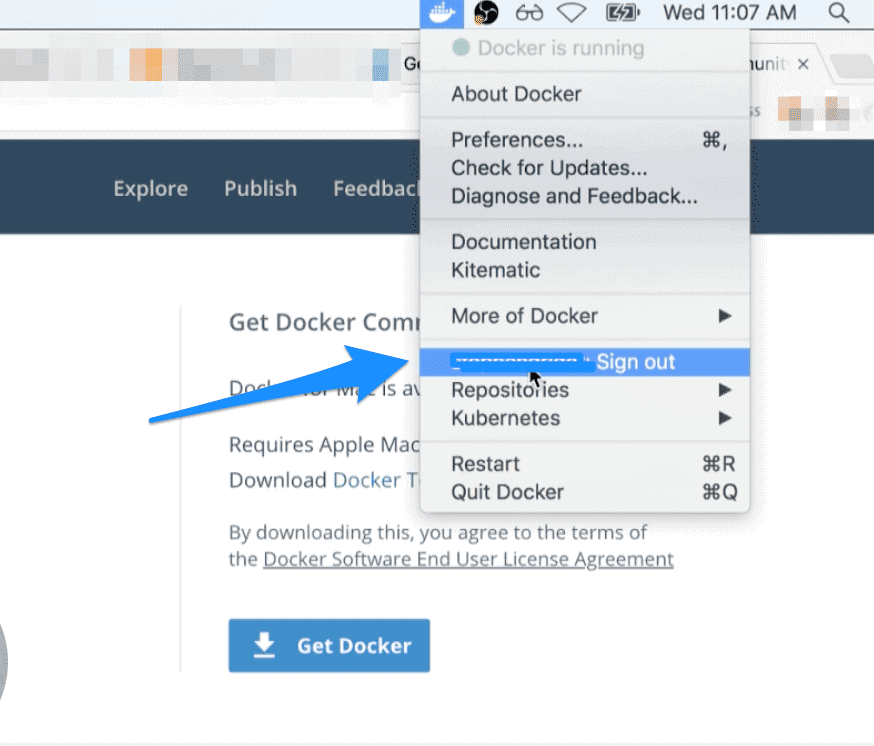
- After docker is running, you should now be able to see the icon of the docker on your menu bar – this means that docker is up and running successfully.
- To sign in, click sign in and fill in your docker id and password to get signed in

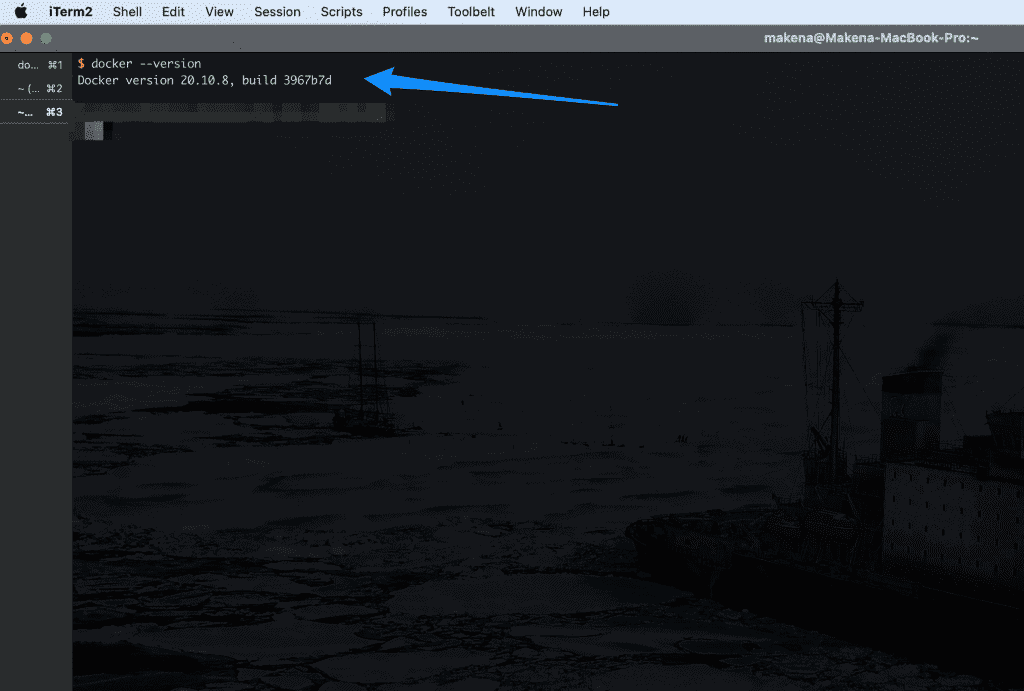
- Now, navigate to your command line to check verify that Docker is running as expected.
- Type in the following command and hopefully the results look more or less similar to the screenshot on the left – the version number may vary based on the time you are reading this.
Verifying docker client is installed with a sample image
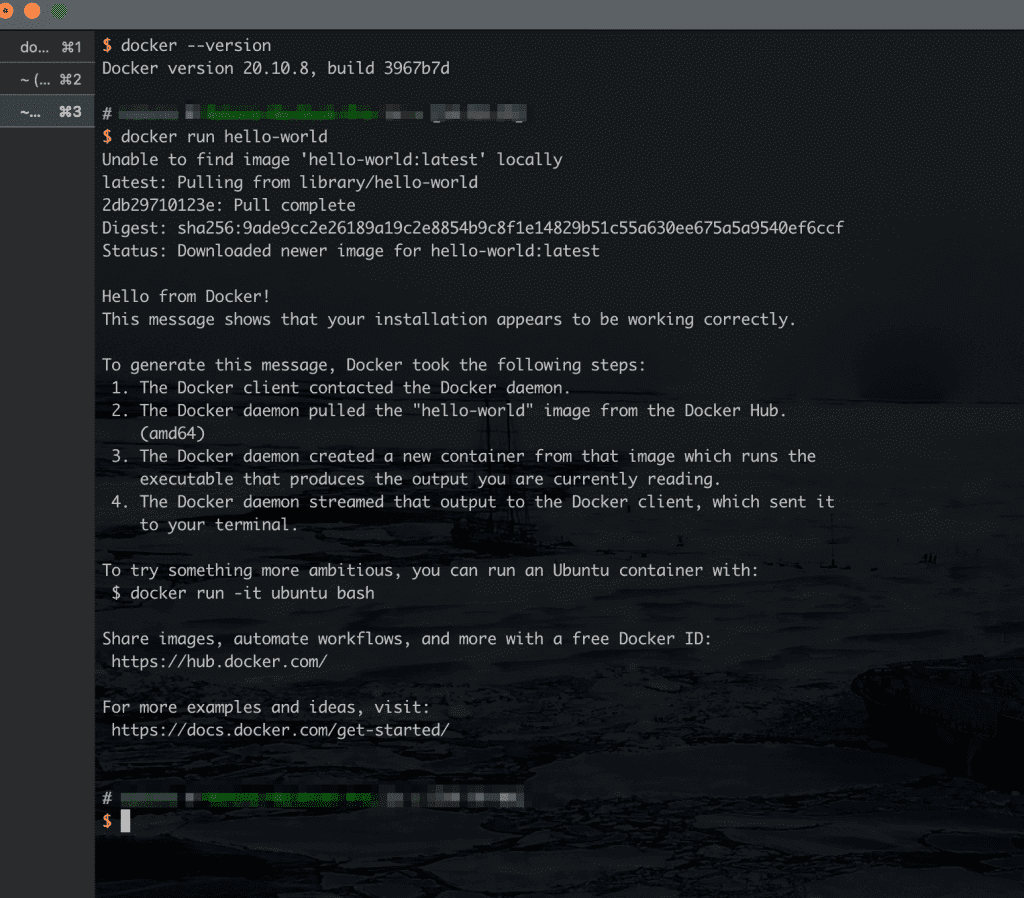
In order to verify further that the client is working as expected, type in the following line in the console.
docker run hello-world
We expect to see the following message if this is the first time you are running hello-world image
As you can see other are a couple of steps that docker ran in order to execute the commands from steps 1 – 4.
Basically, the docker client called the docker daemon and when the daemon saw that we are trying to start a new container from the image “hello-world” — it first checked for a hello-world image locally on our machine in the image cache. When it realised there was no existing copy, it went ahead and pulled the image from docker hub and saved the copy on our local machine.
The docker server then loaded the instance of hello-world as a container and runs the results.
Note: If you run docker run hello-world again – you should not see the “Unable to find image hello-world” like before.
Conclusion
Well done if all has gone well up to this point! Incase you have issues, check some of the troubleshooting FAQ on the official docker website.

