Table of contents
What is git and what are the basic git commands you need to know in order to get started with a full flow? Git is a command-line tool that allows you to collaborate on a project with multiple people. It is often used in conjunction with version control software such as CVS or Subversion. Let’s start this article off by setting up your local repository for the first time if you haven’t already done so.
You’ve probably already heard that Git is distributed, which means it was designed to be used on a network with multiple people coordinating in the development of one project. To keep it simple, let’s start off with a single user. This is known as using it locally.
Setting up a GitHub repository
If you already have a GitHub account set up, you can skip step 1 and start from step 2.
1.) Head over to Github – sign up if you don’t already have an account.

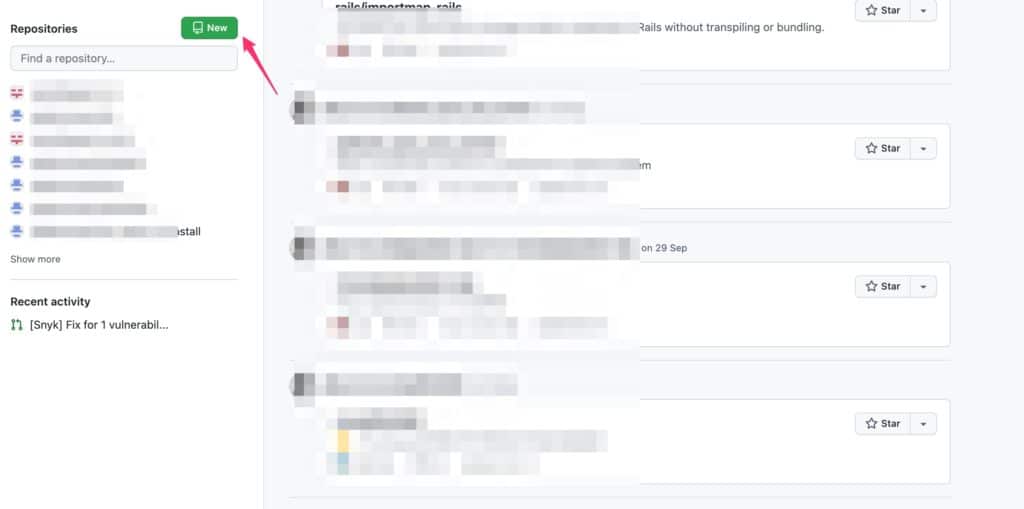
2.) Click on new repository

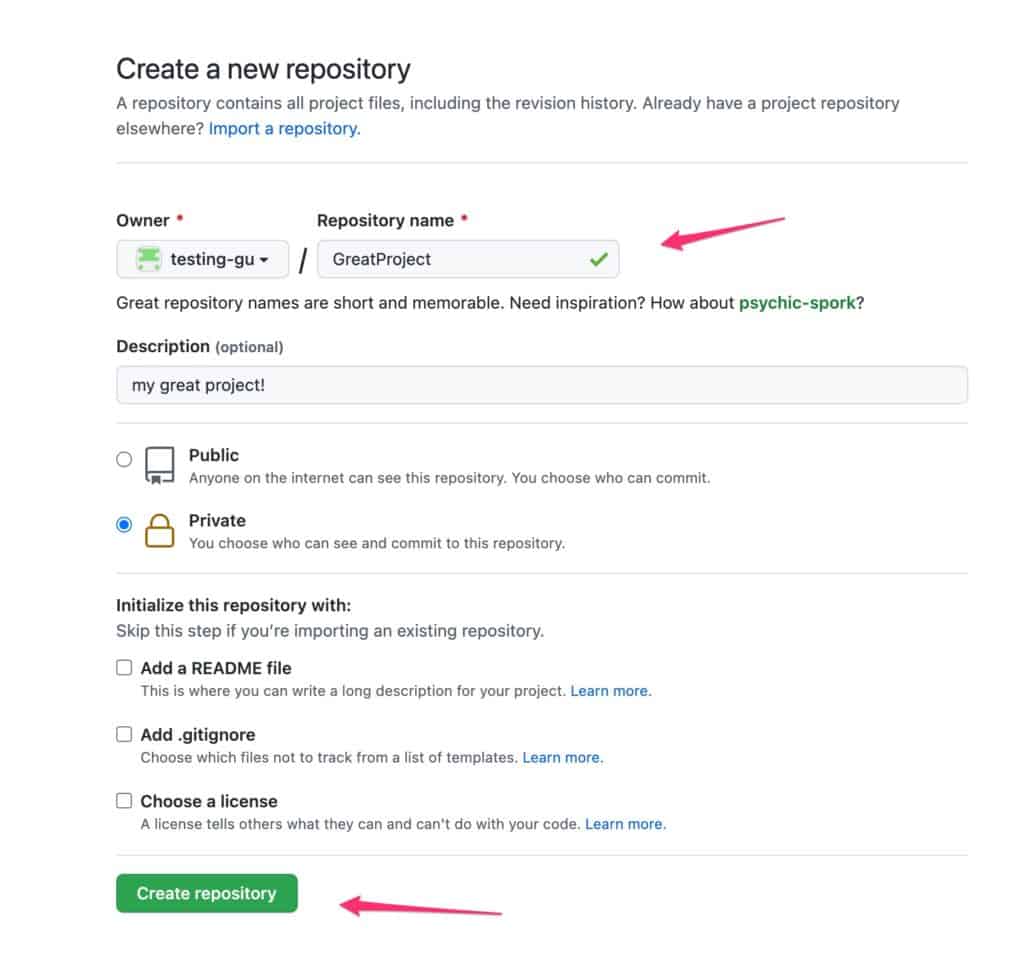
3.) Give the repository a name and click Create Repository
You will see the 3 options to initiate the project. For us, we will be going through option 1.
Good job! Let’s leave that page open and jump to setting up our local project!
Setting up your local repository
Here are the steps for setting up your local repository:

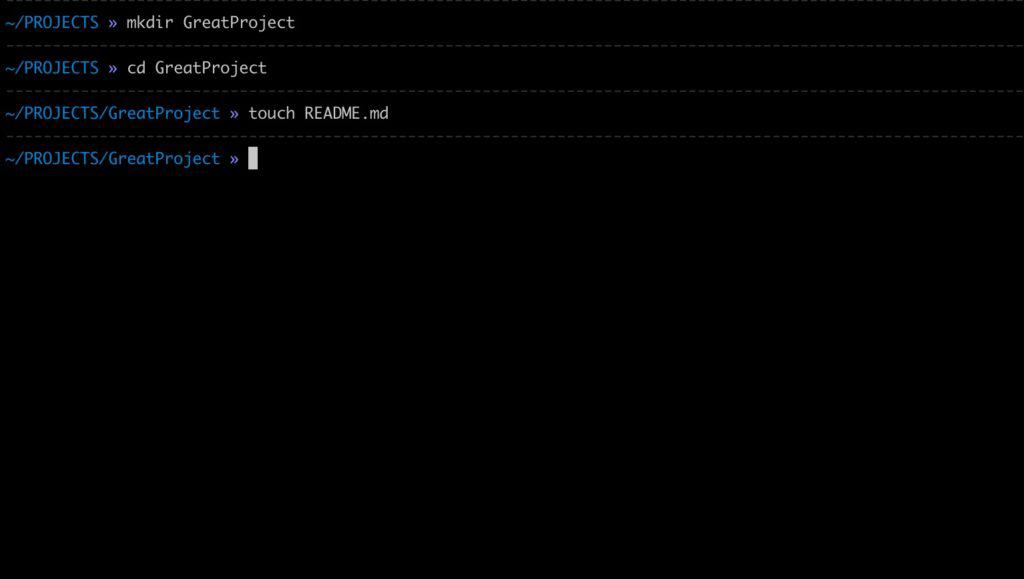
Create a directory to hold this project’s files and change into that directory on the terminal using the following commands.
>> mkdir GreatProject
>> cd GreatProject
>> touch README.md
Open README.md in a text editor and type in the following.
# Description
- This is a great way to learn.
- In this repo, I will have a great project.
- I will be a git guru!
Save the changes and return to the terminal.
Basic git commands you need to know!
Well done! Now, let’s initialize git in our new directory by typing in the following
git init
Expect to see the following:
Initialized empty Git repository in */folderLocation/*
Viewing some basic information about your new repository:
git status
Expect to see the following.
On branch master

No commits yet

Untracked files:
  (use "git add <file>..." to include in what will be committed)
	README.md

nothing added to commit but untracked files present (use "git add" to track)
When you created the directory for your project, Git initialized an empty database under .git in the current directory. The git status command shows you all that’s available in your Git database, including the few files that you have there.
Adding a remote git
A remote git is an additional git server that you can use to push and pull changes to or from. It can be a friend or a coworker on GitHub who has their own local repository set up in their own repository – but in this case, it’s our own repository that we created earlier. Note that if it was someone else’s GitHub repository, you would need to be added as a collaborator before you can push any changes to their repository 🙂
In order to add a remote git, copy the line from GitHub that was similar to the below, copy it and run it on the terminal. Note that *your project url location* will be different!
git remote add origin https://github.com/*your project url location*
Well done! Let’s now add changes and make a commit!
Adding local changes
Type in the following to add our local changes
git add -A
Making a commit
A commit is simply a snapshot of what the database contains at that point in time that you want to work with later on if needed. Git keeps all the commit history in your local repository, so it is not something you need to worry about if you use it on a regular basis.
To create your first commit, type the following command on the terminal
git commit -m "first commit"
Expected results should be like below
[master (root-commit) 2c8a0f5] first commit
 1 file changed, 4 insertions(+)
 create mode 100644 README.md
Let’s finally push the changes.
Pushing changes
Pushing changes means we will send our changes to the GitHub server and onto the repository we created earlier
So let’s go ahead and do that, type in the following
git push -u origin master

Input your GitHub username and personal access token as the password, expect results similar to the diagram on the left.
That is it! We are done with setting our local repository and we have pushed them to GitHub – now you can create as many commits as you like.
What just happened?
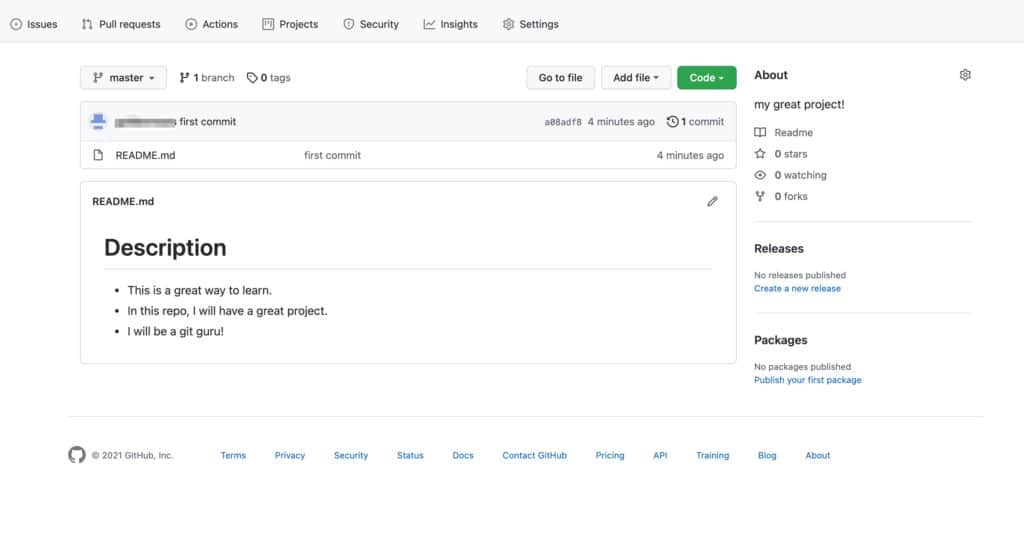
Let’s go back to our GitHub repository on the browser and refresh the page! We should see something similar to the following. If you get authentication errors, be sure to follow Github troubleshooting tips here on generating personal access tokens, and then try again.

And that’s it! As you can see, we have our code with the readme instructions successfully uploaded to GitHub.
Conclusion
Don’t feel bad if you didn’t get it all in one day. You can continue to read more about how to use Git on your personal GitHub repository here. Also, I encourage everyone to remember that git works with multiple people in a distributed way and that it is meant for collaboration.
Keep practising and it will be easy once you get the hang of it!
Read more about 12 factors of microservices here.

